but this can be changed during the installation process. A desktop icon is also generated.
During installation of weview two other programs will be installed:
- bzip2.exe. This program is used to unzip received NOAA files.
- wget.exe. This program is used to download Kepler files for NOAA satellites.
Note that for recording Tellicast and etoken software have to be installed too. For viewing previously recorded data just weview is sufficient.
Settings.
weview needs just a few settings. Defaults match with default Tellicast installation; mostly no further settings are needed.
The Settings page contains a few subpages.
The main page contains an overview of the current settings:
For each item the status is shown: green (OK), red (not OK) or blue
(another setting needs to be fixed first).
If an item isn't set correctly (red state) a 'Solve' button gets active (at the right).
The items are:
| recv.ini | location of this file; installed with Tellicast; weview uses it to determine the location of recv-channels.ini |
| recv-channels.ini | location of this file; weview uses it to do Tellicast channel selection |
| recv-channels.ini.sav | Contains original recv-channels.ini. |
| Tellicast program | Necessary to be able to switch on and of Tellicast |
| received in: | Location where the received (raw) data is placed by Tellicast |
| Exported in: | Location where JPEG files, generated by weview, are placed |
Check internet connection
For NOAA AVHRR Kepler files are needed to determine the position on earth of the received files. (For NOAA GAC and METOP no Kepler-files are needed because the data is present in the received files.) Weview will download Kepler files "by itself" as soon as a NOAA file is selected.A separate program is needed, which is part of the installation file: wget.exe In subpage "Internet" of the Settings page the connection to the celestrak website can be checked:
Click on "Check download" to check availability of the Kepler files.
Note:
- Kepler-data will be downloaded just 1 time for each selected set of NOAA files. Internet connection is only needed during that time.
- If connection is broken no further attempt is done, until the "Check download" button is pressed again, or after restaring weview.
- If NOAA data is deleted the belonging Kepler-data will also be deleted.
- Currently always the newest Kepler-file is downloaded, regardless of the age of the received AVHRR files.
- If no Kepler-data is downloaded AVHRR files can still be viewed, but the plot of segments on the earth map isn't possible. (See
Check installation of extra files
weview needs a few extra files and programs. This page shows if the files are installed or not.All files and programs are part of the setup files. If one of the is not installed then run one of the 2 weview setup-files and make sure that the missing programs/files are checked for installation.
Recording.

As soon as a NOAA file is selected weview will download Kepler data.
If no internet connection is available then after a few seconds an error message will be given.
After that, selecting NOAA files will not cause retrying to download.
To enable/retry downloading again go to Settings page, and sub-page "Internet". Click on "Check download".
this will just check the internet connection.
If OK go back to the "View" page, and re-select again the NOAA item.
Select Tellicast channel.
(The channel number needs to be selected; at the bottom the channel name is shown.)
Start/stop record.
Click on 'Start receiving'.
This will start Tellicast, and the selected satelliets will be recorded, while showing one of them.
Click again to stop recording.
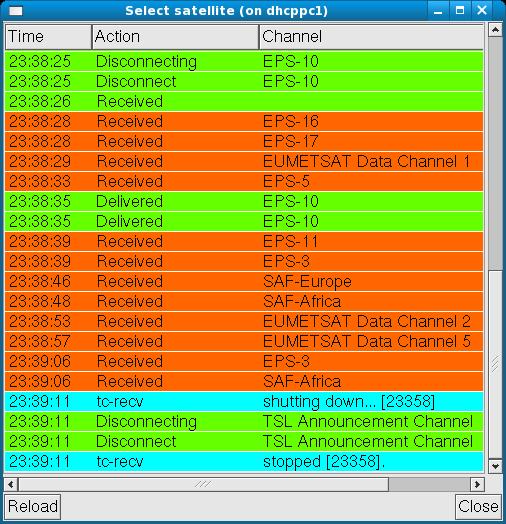
If necessary check Tellicast by viewing the content of recv.log:
Click on 'Tellique log'.
Viewing.
This page is used to select and view previously recorded data, and to do a few simple processing tasks.
Generating a JPEG file is also done here.
 Each line contains one satellite. Opening an item, by clicking on '+',
will show the individual channels of the current satellite.
Each line contains one satellite. Opening an item, by clicking on '+',
will show the individual channels of the current satellite.
Below the list:
World map
To determine the position of the satellite select page "World map". This page is especially usefull for polar satellites.
If a polar satellite is selected the received segments are plotted on the world map. Start and number of segments to show can be selected.
The start-segment cab also be selected by left-clicking on the world map on the first segment to show. After selection go bacl to the View page and click on "Preview".
For NOAA AVHRR NORAD data is needed. The data is downloaded in an automated way. To check internet connection see
page Settings, subpage "Internet".